Wednesday, December 28, 2011

Sewing in 2011 - looking back.

As the year draws to a close, naturally our minds begin to run wild with sewing goals for the year ahead. I know mine is. Thoughts flashing through my head of scalloped edges, Colette patterns, vintage fabrics and lace detail. I must make an effort this week to write it all done (note-to-self, reread Emma's New Years Resolutions post)! I have already read some inspiring 2011 review posts this week by fellow seamstresses Gina and Lauran. I am sure many more will appear in the blogosphere before this week ends.

Here is my sewing recap for the year past...

Skirts and Dresses

Tops


Undergarments


Quilts


Other

Eighteen creations isn't half bad! Considering I went into sewing hibernation for many weeks pre and post house move, and have basically dedicated December to Christmas craft, I am surprised I have sewed this many things.

Highlights for me this year have been:
* Having my Pendrell blouse featured by Tasia on her blog! I was thrilled that the woman who designed the pattern liked my creation!
* Joining a sewing class.
* A new sewing machine and overlocker/serger (Christmas gift).
* Making a number of handmade Christmas gifts this year.
* Learning to machine quilt on my new machine (very basically though).
* Collaborating with Marie, Reana, Kat, Rachel, Jen and Amy on One Pattern - Seven Bloggers.
* Making a cake for my Grandparents 50th wedding anniversary - complete with royal icing!
* Teaching Sarah how to sew.
* Adding to my collection of vintage patterns.
* The new addition to our feline family.
* Moving house and building a veggie garden.

My final goal for 2011 is to get my sewing room in order (does anyone else feel like they are constantly battling their sewing room/space? I do, doesn't seem to matter how big or small it is, somehow it never feels like it is in order).

Sam xox

Saturday, December 24, 2011

The earrings all made up.


Some internet searching for 'vintage Christmas cards' found me a delightful assortment of old vintage Christmas images. I settled upon a snow scene depicting a small village and a handful of residents, dressed in their best surrounding a tree.

I printed the pictures off and laminated them to stabilize, then punched little holes in the now 'presentation cards' using a pin to allow for the earrings to attach.


I really am quite pleased with how these turned out. Like I said, a simple search on Etsy for 'resin flowers' will unearth more choice of colours, sizes and styles than you ever thought possible (well, almost!). Cheap to make compared to the price you would pay for these at most market stalls.

Simply change the image of the presentation card for this to be an any-time-of-year gift!

Sam xox

Friday, December 23, 2011

Handmade Liberty pin cushion.


Made from Liberty of London 'Wiltshire' fabric.
14 x 1" hexagon cardboard templates.
English paper piecing method.
Hand stitched together.
A little Christmas gift for me.

Sam xox

If you want to learn how to sew with the English paper piecing method, this video demonstrates it well.

Thursday, December 22, 2011

Hand embroidered Christmas tree decoration.

After seeing these hand embroidered Christmas tree decorations on Etsy a few weeks ago, I was tempted to try and make my own. I gathered some calico, stuffing, a scrap of Liberty 'Wiltshire' fabric, and embroidery thread to match. I cut the square just over 3" in size and hand embroidered the pattern. I then hand stitched the two squares together, slipped in a little stuffing, and attached some thread to hang the decoration from a branch of my tree.


Why not have a try yourself?

Sam xox

Monday, December 19, 2011

Betsy McCall.

Have you seen Betsy McCall - The First Ten Years yet? This makes me want to go and buy cardboard now, print these pages out, and play paper dolls for the rest of the afternoon...


If I had a daughter I would definitely be making her a set of Betsy paper dolls!

Sam xox

Saturday, December 17, 2011

Merrens' wreath.

I wanted to share with you some photos of the Christmas wreath my mother in law Merren made this year, because I think it is beautiful...


She used some dried fruit, cinnamon sticks, and pieces of hessian cloth tied into bows for her decorations. Her tip when working creatively? Work with odd numbers - 3's, 5's, 7's, as this is always most pleasing to the eye.


Tomorrow I'll share with you some other inspiring wreaths I've found.

Sam xox

Friday, December 16, 2011

Handmade earrings.


These earrings are really easy to make. Here's what you needs:

A bag of earring studs.
Resin flowers (Etsy has lots of different sizes, colours and styles).
Super glue gel.
20 minutes.

> Glue stud pieces to each flower.
> Allow time to dry.
> Arrange pairs of studs on decorated card stock.
> Wrap in brown paper and twine and place under the tree.

Sam xox

Thursday, December 15, 2011

Dried fruit and cinnamon wreath.


This wreath is basically a total copy of a wreath Ally gave my mother-in-law last Christmas. It smells delicious and is relatively simple to put together, however the fruit needs a few days to be prepared.

To make this wreath, you will need to dry some apple, orange, and lemon slices. I dried my lemon and orange slices first outside for a few days, then finished them off in the oven at a low temperature. The apple slices did not need long in the oven (make sure you keep an eye on them!).


You will also need some cinnamon sticks, dried chilies, thick bendable wire, wire snips, and some ribbon.

If you're anything like me, divide your fruits, cinnamon sticks and chilies to form a pleasing pattern (you can also freestyle your wreath and just thread it all on randomly). Bend your wire into a wreath shape, remembering to leave some wire at each end for securing. Thread it all onto your wire, then secure wreath by looping the ends together and snipping the extra wire off. Cover up the ugly loop bit by tying a big red bow around it, then find somewhere nice for it to hang.


~ Allow this wreath to gently fill your home 
with the scent of citrus and cinnamon ~

Sam xox

Wednesday, December 14, 2011

Tomato relish.


This Christmas I will be filling the stockings of my nearest and dearest with homemade food items. This weekend I whipped up a batch of tomato relish, following an old family recipe. I can't share it with you, but I did find one that is quite similar here.

Having planted eight tomatoes plants a few months ago, I am now flooded with ripe tomatoes ready for picking. This causes a little trouble seeing that my dear hubby hates tomatoes, so there is no way we I am able to eat through them all. That's where tomato relish comes in...


My recipe calls for 3kg of tomatoes. I was able to provide this purely from my veggie garden (and yep this did make me feel kinda good!).


Here's a tip. If you need jars to store this sort of thing, but just don't have enough stockpiled, instead of buying empty jars from the supermarket (these were $2.45 each) try finding a food product sold in jars that you can store another way at home. For example, I purchased spaghetti sauce ($1.89), was able to transfer the sauce into bags and store in the freezer to be used later on. I was then left with six large jars which I washed, then sterilised in the oven. Here's a how to guide for steralising jars.


I transferred the hot mixture into the hot jars, sealed then left them standing on their lids to dry. This creates a seal.


Once cool I covered the lids with scraps of fabric cut into circles with pinking sheers, then secured with twine. I labelled each jar with homemade labels I found here. I simply opened the image in 'paint' and added the text in the space.


Sam xox

Tuesday, December 13, 2011

How to wrap a Christmas present.


You will need:
A roll of brown paper
Coloured twine
Sciccors
Sticky tape
Gift labels (I bought mine from here)

*  *  *  *  *  *  *  *  *  *  *  *  *  *  *  *

Cut your brown paper to a size. I like to wrap my gifts with a double layer of paper.
Tape your paper up.
Tie you package up with a long length of twine.
Tie your twine into a nice big bow.
Write warm wishes on your label and secure to the twine.
Place under the tree so they are ready for Christmas day.


Sam xox

Beautiful bathroom.


Gratuitous cat photo.


Sam xox

Monday, December 12, 2011

Matryoshka Christmas tree decorations.

My handmade decorations for 2011 are these matryoshka dolls. After blogging about them in October, I kept thinking about them, so I knew I had to make some. I printed off the free pattern  from Sew to Speak and whipped up three little ladies. Three more need to be made before Christmas day arrives as I think a set of six would be a nice amount.

 Doll #1 (My favourite)

 Doll #2 (I regret this colour combination)

 Doll #3 (A matchy matchy doll)

They look lovely hanging on the tree...


The best part about this project was the tiny tiny cost of making these dolls. I would estimate each doll cost me less than $1 to make. And they only require basic needlework skills, so they would be great for kids to make (perhaps enlarge the pattern first though - some of these pieces were tiny).

Sam xox

Sunday, December 11, 2011

Christmas banner.

This week I want to share with you a variety of Christmas craft projects I have made over recent weeks.

First up is this "Merry Christmas" banner...


This craft project was inspired by a banner my mother in law saw recently in Bowral, NSW. These banners are cheap to make and are really quite simple.


The letters were cut out from pages from Princess Anne's equestrian memoirs. This resulted in almost all my cut out letters containing words referencing horses or royalty - quite Christmas chic I think.

~ Princess Anne was quite a stylish rider ~


I used Microsoft Word to make the templates for these letters. Just be careful that the letter templates are not too big for the books' pages, and also make sure you trace them parallel to the lines of writing, otherwise it looks a bit slanted and awkward.

Sam xox

Wednesday, November 30, 2011

Christmas time.


Last weekend we decided to put up our Christmas decorations. There was a lot of discussion about where our Christmas tree should stand this year in our new home. It was decided that the tree would be placed in the corner of the lounge room closest to the kitchen so it can be seen from most areas in the house.


We spent the evening arranging the tinsel, lights and decorations 'just right' and were really happy with the result. However, Sophie wasn't at all impressed with our arrangements. The next morning we were to discover most of the decorations on the floor and the tree standing at a crooked angle. Seems our new kitty has a passion for Christmas too...


Hanging our decorations made us quite homesick. Over the past few years we have hosted, and attending, many Christmas parties/dinners/lunches and a habit of mine is to steal take a little something from each gathering (such as a bonbon prize, ribbon from a gift, table decoration) and keep it to hang on our tree. My heart beat a little harder when I unpacked these this year, and it made me sad to think just how much further away these friends and family are this year. Granted, we still live in the same State, and are driving distance away, but it is still a distance and it is just not easy anymore to 'catch up' with those we love.

Some of these decorations include:
* Felt reindeer faces from my parents-in-law's Christmas lunch.
* A metal star mobile phone trinket (not as tacky as it sounds), a prize won from a bonbon during a dinner at Mel and James'.
* White and silver ribbon bow saved from a gift from Michelle.
* A tiny piece of plastic holly taken of the end of one of my Mum's bonbons.
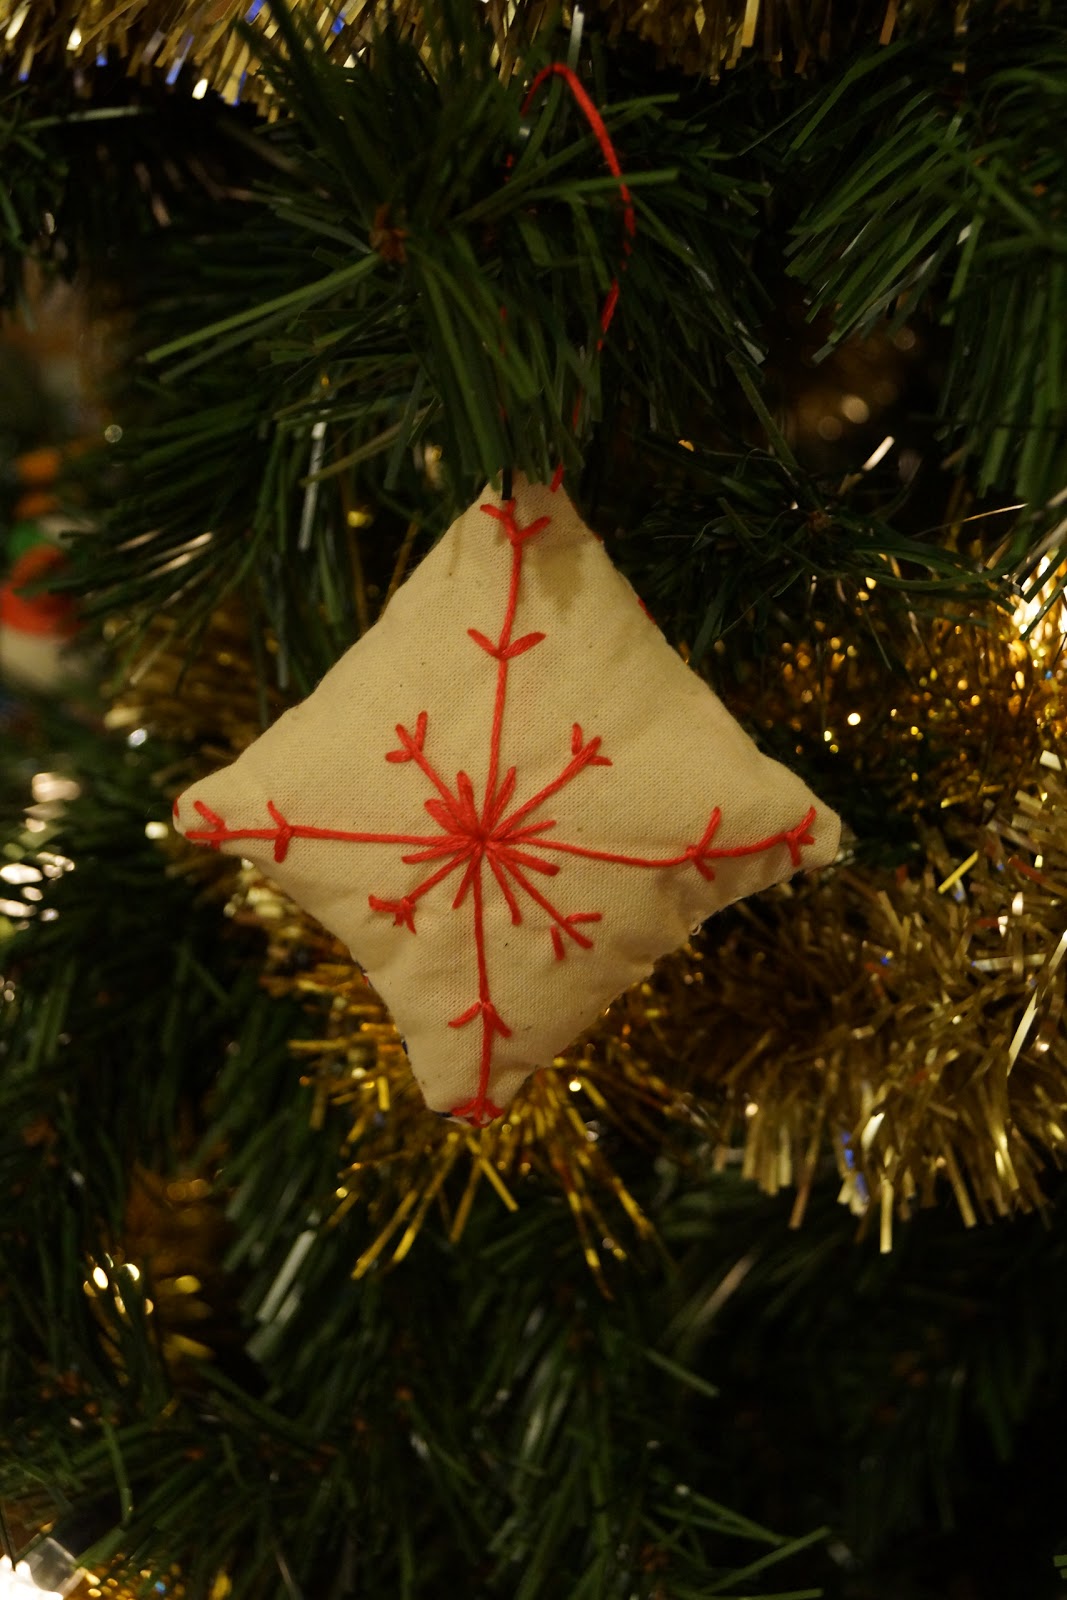
* Felt stars made with love and in the company of Mill.
* A knitted bell that Ally helped me to cast off.
* Christmas baubles purchased from David Jones with Jamie.


This new house has an authentically old fireplace and mantle. It was nice to be able to decorate the mantle place also, although our Christmas decorations don't stretch as far in this house as they did in our tiny apartment.


And my piece de resistance this year is this absolutely beautiful antique Grandmother's Flower Garden quilted stocking. It was made by a lady in America from an old quilt that was quite damaged. I bid for it on eBay and won, and it now hangs waiting to be filled on December 25. It is such a treasure.


Can you imagine what the entire quilt must have looked like?

This week my goals are:
> Weed my veggie garden (as it has seriously become overgrown due to my not being able to bend thanks to knee injury from running too many km's).
> Decide on some Christmas crafts and gather all the supplies necessary.
> Sew sleeves onto my scalloped pick jacket. I have sewn up the main part of the jacket... will be able to show you all soon.
> Finish my handmade Christmas presents. Not prepared to post about these yet as some of the recipients may see them on here.
> Type up instructions for pinwheel quilt.
> Begin soaking my fruit for my Christmas cakes.
> Build a gingerbread house.

Phew. Better get started!

Sam xox